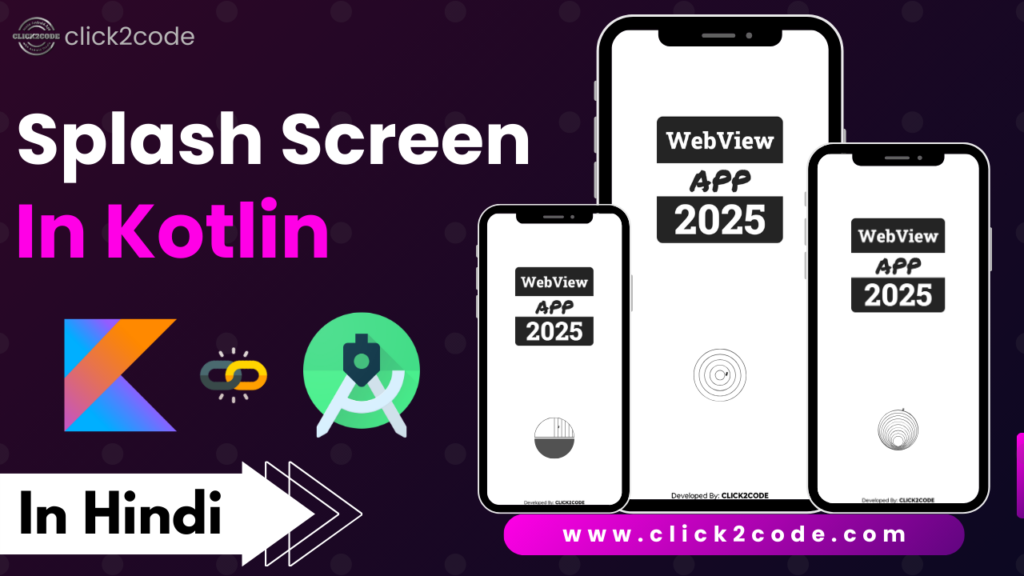
In this blog, we will create a Splash Screen for an Activity in Android Studio with Kotlin Language. We will follow the steps step by step.
Open the color.xml file and paste the code below.
<color name="purple_200">#242424</color>
<color name="purple_500">#242424</color>
<color name="purple_700">#242424</color>
<color name="teal_200">#242424</color>
<color name="teal_700">#242424</color>
<color name="black">#FF000000</color>
<color name="white">#FFFFFFFF</color>
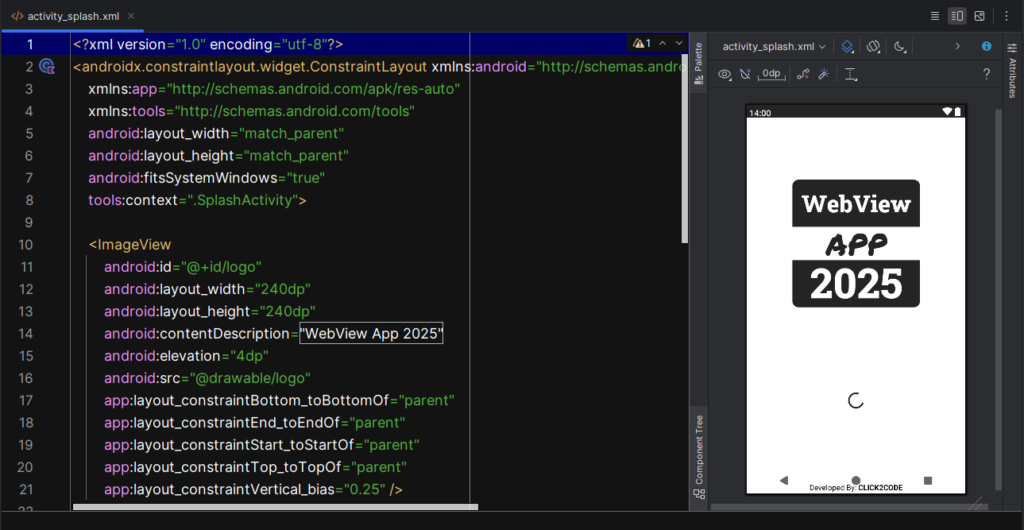
Now, the Code is implemented in activity_splash.xml Layout.
First, we have to create a constraint layout for the activity_splash.xml layout.
<?xml version="1.0" encoding="utf-8"?>
<androidx.constraintlayout.widget.ConstraintLayout xmlns:android="http://schemas.android.com/apk/res/android"
    xmlns:app="http://schemas.android.com/apk/res-auto"
    xmlns:tools="http://schemas.android.com/tools"
    android:layout_width="match_parent"
    android:layout_height="match_parent"
    android:fitsSystemWindows="true"
    tools:context=".SplashActivity">


</androidx.constraintlayout.widget.ConstraintLayout>
Second, we have to implement ImageView to show the App Icon.
<ImageView
    android:id="@+id/logo"
    android:layout_width="240dp"
    android:layout_height="240dp"
    android:contentDescription="@string/app_name"
    android:elevation="4dp"
    android:src="@drawable/logo"
    app:layout_constraintBottom_toBottomOf="parent"
    app:layout_constraintEnd_toEndOf="parent"
    app:layout_constraintStart_toStartOf="parent"
    app:layout_constraintTop_toTopOf="parent"
    app:layout_constraintVertical_bias="0.25" />
Third, we have to create a progress bar to show the loading status in activity_splash.xml.
<ProgressBar
    android:id="@+id/progressBar"
    android:layout_width="36dp"
    android:layout_height="36dp"
    app:layout_constraintBottom_toBottomOf="parent"
    app:layout_constraintEnd_toEndOf="parent"
    app:layout_constraintStart_toStartOf="parent"
    app:layout_constraintTop_toBottomOf="@+id/logo"
    app:layout_constraintVertical_bias="0.5" />
Fourth, we have to create a developer name that can show the name of app developers.
<TextView
    android:id="@+id/developedBy"
    android:layout_width="wrap_content"
    android:layout_height="wrap_content"
    android:layout_marginBottom="2dp"
    android:text="@string/developed_by_click2code"
    android:textColor="@color/black"
    app:layout_constraintBottom_toBottomOf="parent"
    app:layout_constraintEnd_toEndOf="parent"
    app:layout_constraintStart_toStartOf="parent"
    app:layout_constraintTop_toBottomOf="@+id/progressBar"
    app:layout_constraintVertical_bias="1" />

Now, we have to create an Android Resource Directory then under this select the Resource Type name anim. And Under this anim folder.
We have to create splash_screen_animation.xml.
<?xml version="1.0" encoding="utf-8"?>
<alpha xmlns:android="http://schemas.android.com/apk/res/android"
    android:fromAlpha="0.0"
    android:toAlpha="1.0"
    android:duration="1800">

</alpha>
Now, Open the SplashScreen.java file.
First, we have to connect ImageView, ProgressBar, and TextView Layout.
val imageView = findViewById<ImageView>(R.id.logo)
val progressBar = findViewById<ProgressBar>(R.id.progressBar)
val textView = findViewById<TextView>(R.id.developedBy)
Second, we have to create a Handler to show the Splash Screen Time Delay. After complete delay time automatically move another activity named HomeActivity.
val splashTimeOut = 2500
Handler().postDelayed({
    val intent = Intent(this@SplashActivity, MainActivity::class.java)
    startActivity(intent)
    finish()
}, splashTimeOut.toLong())
Third, we have to set the animation for splash screen layouts.
val animation = AnimationUtils.loadAnimation(this, R.anim.splash_screen_animation)
imageView.startAnimation(animation)
progressBar.startAnimation(animation)
textView.startAnimation(animation)
Finally, we can check this project on physical Mobile Devices.
::::: Thank You :::::

